


Human hair extensions are a wonderful way to change your hair length without having to wait several years for natural hair growth. There are many different methods available, each with their own advantages and disadvantages. Tape extensions are ideal for a longer-term solution that is gentle on your hair. Compared to other methods, tape extensions also save time during application, as a hairdresser can apply them more quickly than, for example, keratin bond extensions. We recommend having tape extensions professionally applied by a salon. However, with a little experience, you can also apply your tape extensions yourself. Tape extensions are a good choice, especially for fine and sensitive hair, as they cause minimal damage to your hair when used correctly. We offer human hair tape extensions in various colours and lengths, which you can easily order from home. If you need tips on applying or removing your tape extensions, you've come to the right place!
Applying Tape Extensions: Instructions for perfect success
No heat is required to insert the extensions, making this method particularly gentle on your hair. To ensure your tape extensions are applied smoothly and last as long as possible, check out the step-by-step instructions here:
- Before you can apply the tape extensions, it's best to freshly wash your natural hair. Use an exfoliating or cleansing shampoo and dry your hair.
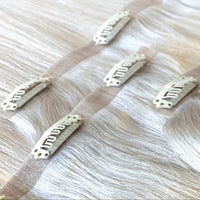
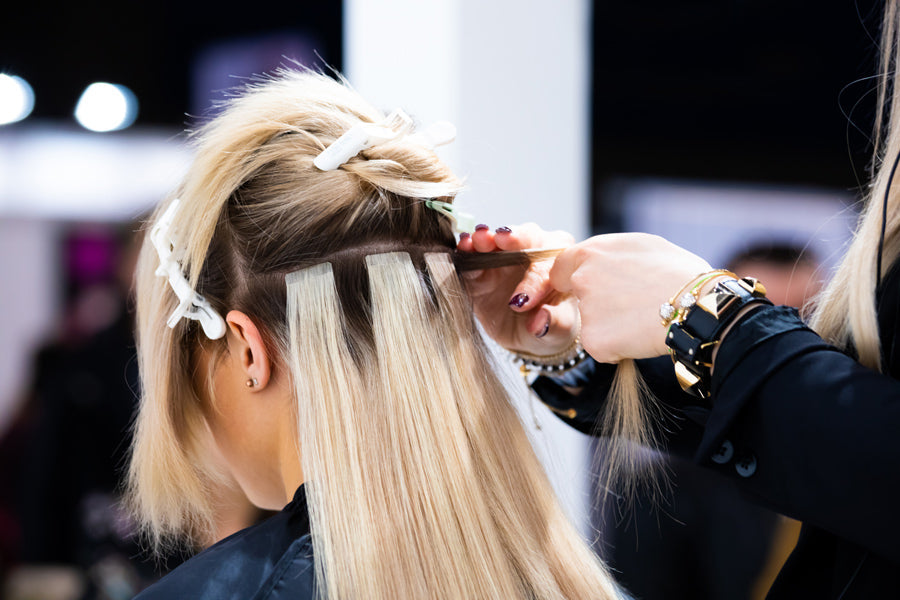
- Divide your hair into sections. Pin the top sections up with sectioning clips, and start installing them in the lower layer of hair. It's important to leave a certain amount of hair free of extensions at the very base of your neck. This makes for a better feel and a better look when tying your hair up.
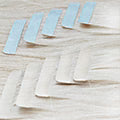
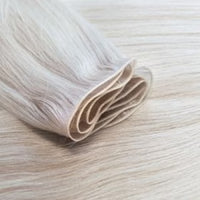
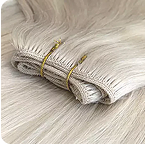
- The tape strips consist of two so-called wefts, between which your hair will be enclosed. Remove the backing paper from the tape. Place one tape strand below the sectioned strand of your own hair and the second strand above it, so that the two adhesive surfaces touch. Make sure the wefts are perfectly aligned to ensure your extensions last as long as possible. You can use our tape pliers for this, which make it easier to press the tapes together and ensure optimal hold.
- Now you can apply another tape to the next section and insert all remaining tape extensions.
- For optimal results, it is usually necessary to adjust the haircut after.
- Now you're done!
Why Tape Extensions Are Worth It – Key Benefits
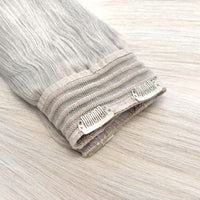
There are numerous reasons to use tape extensions. The gentle cold method is particularly suitable for damaged or thin hair where keratin bonds or sew-ins are not an option. The weft distributes the weight of the extensions evenly across the hair, placing only minimal strain on it. Another advantage is that the extensions are reusable. They last for 6-8 weeks, and if the extensions have grown out after this time, you can simply remove them and put them back in with replacement adhesive tape . You should remove any traces of the previous glue as thoroughly as possible beforehand. We offer tools for this, such as bond remover , a fine-tooth comb , or even an electric tape remover. The latter is extremely practical if you frequently work with tape extensions.
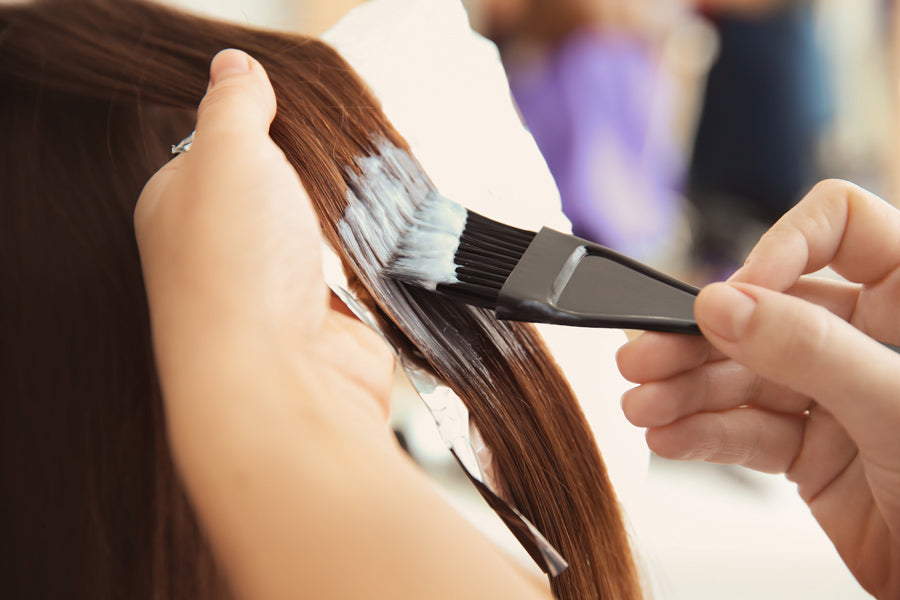
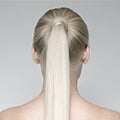
Thanks to the thin adhesive strips and the high quality of our extensions, they look very natural and blend in with your own hair. Styling is straightforward thanks to the use of human hair; they can be styled just like your own hair. Tape extensions can even be dyed – however, you should avoid bleaching them and consult a professional. Dyeing extensions is always done at your own risk. If you have any questions about dyeing extensions, please feel free to contact our customer service.
Having tape extensions professionally installed might cost a bit more than doing it yourself, but getting advice from an experienced stylist is always worth it!
How can I remove my tape extensions?
Ideally, you should have your extensions removed by a professional to minimise the risk of damage. However, if you want to remove your extensions yourself, it is recommended that you have a few tools on hand to avoid accidentally ripping or damaging your hair. To remove the tape adhesive, you should use a suitable solvent. Apply the bond remover between the bonded layers of tape by gently(!) pulling the top apart and spraying the liquid onto it. You can lightly massage the outside of the tapes with your fingers to better distribute the solvent. Then you can carefully pull the tape halves apart. You can use a tail comb to help separate the halves. If the tape does not come off easily, apply a little more solvent and wait a moment.
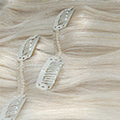
Once you've removed the extensions, you should remove as much of the adhesive residue from your natural hair as possible. To do this, you can spray the bond remover on any visible adhesive residue and then comb it out with a fine-tooth comb . You should only wash your hair after removing as much of the adhesive residue as possible to prevent it from sticking together.
Useful tips: Inserting, removing and caring for tape extensions
- Before installing the tape extensions, wash your hair and remove any residue from styling products.
- You should avoid using shampoos containing silicone while wearing your extensions.
- Care products containing alcohol and oil must not come into contact with the adhesive strips.
- When swimming in chlorinated or salt water, the adhesive areas should not come into contact with the water if possible. Tie your hair up so that it does not become tangled when swimming.
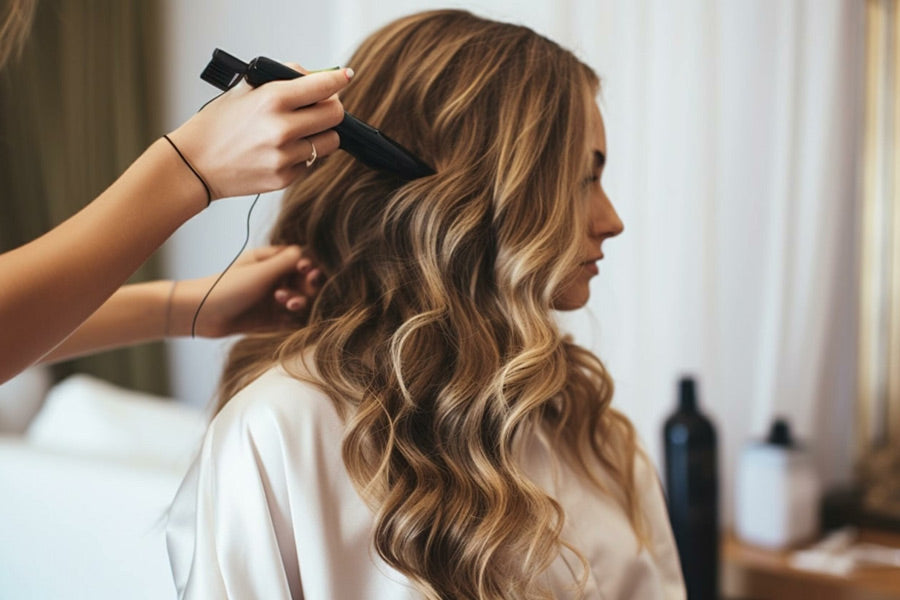
- When heat-styling your hair, avoid getting too close to the adhesive strips to prevent damaging the extensions.
- To remove the tape extensions, do not pull or tug on the hair!
If you avoid these common mistakes, nothing will stand in the way of long-term wear!